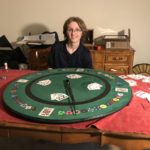
… another guest post by Greg (aka uncle Greg)
June 23rd
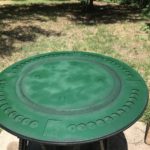
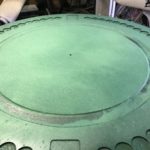
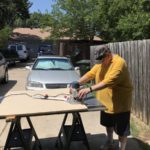
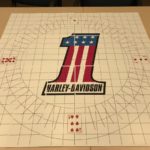
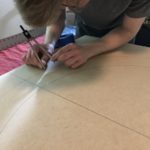
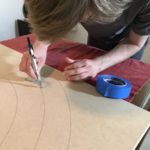
Painting was done with a couple rattle-cans. Black was used for the edge and inner ring. Hunter green for the bulk of it. The green paint was redundant as the flocking glue is hunter green as is the flocking. The edge and inner ring was painted by hand after the initial paint dried. There just wasn’t a good way to mask the circle – at least not that I know of.
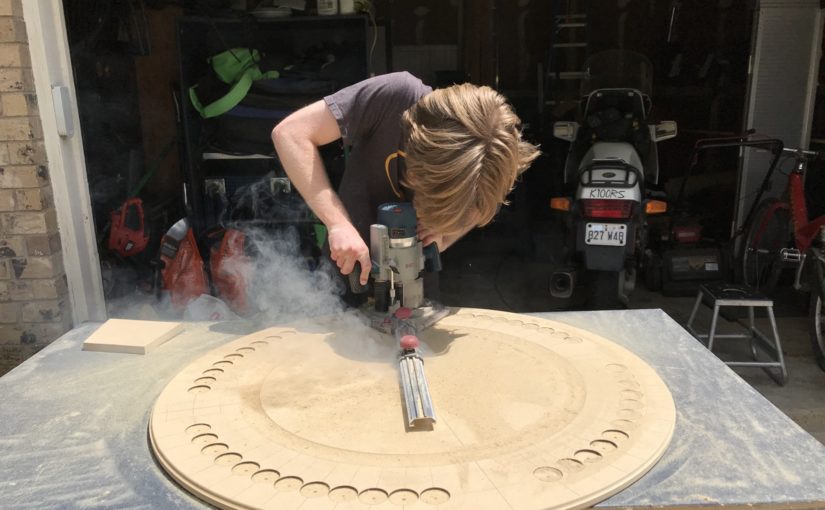
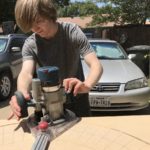
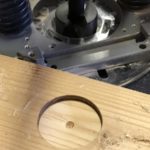
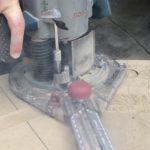
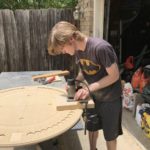
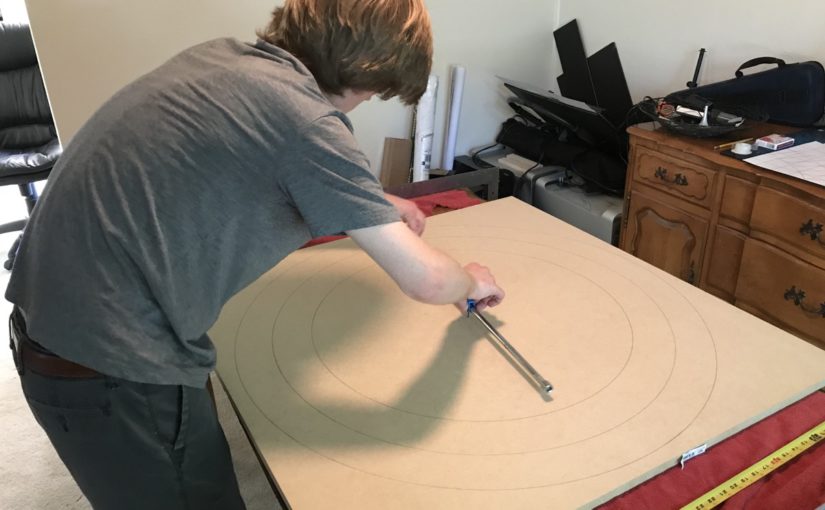
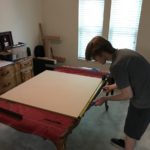
A scrap piece of MDF was used to see how the flocking would work. It was hoped that the flocking would tighten the holes just enough to hold the poker chips by friction alone. The test worked OK. So we proceeded.
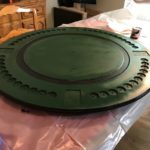
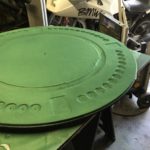
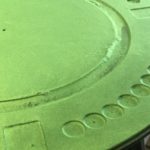
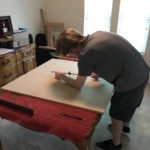
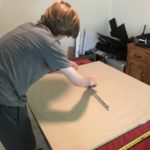
During the week on a couple early mornings in the garage I applied the flocking adhesive and then the flocking to the inner circle and the outer donut. This was truly a flocking mess. And the amount of surface area, including all the nooks and crannies, along with working time of the adhesive made the work a bit nerve-racking. Coverage is an issue. Thankfully I had plenty of flocking and wasn’t worried about running out.
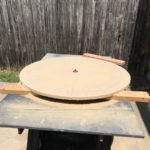
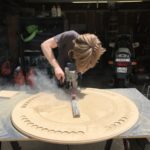
After curing for a couple days the excess flocking was nocked and brushed off revealing the finished surface. It turned out well.
July 6
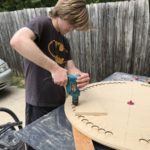
After a two week break Ben and I were ready to put this puppy to bed… well… actually, on the wall where a clock like this belongs. So we jumped into assembling the pieces.
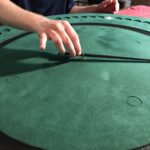
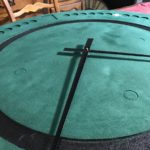
We installed the clockwork and hands.
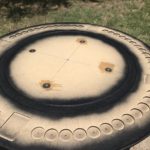
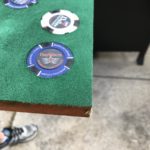
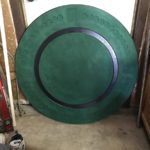
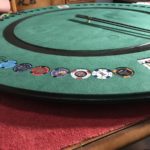
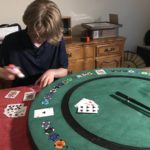
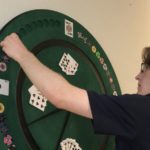
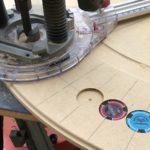
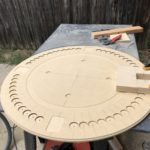
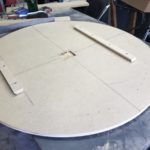
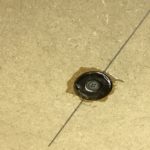
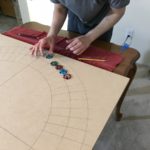
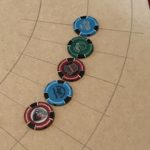
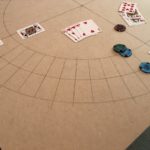
Then we placed the poker chips trying to use only two from any one location. However, we didn’t have quite enough to do that, so we tripled-up on minutes 47-58, knowing we’d replace them later.
We cut pieces of tin slightly smaller than a playing card. Ben glued up hands with the tin card hidden behind the middle card.
Cards at the quarter hour marks were popped into their recesses and the hands laid.
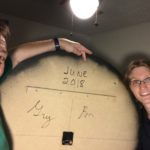
We stood the clock up inserted a ‘C’ battery and signed our creation.
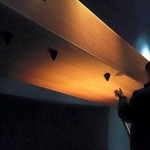
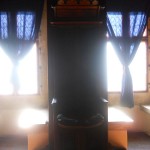
The other half of the French cleat was attached to the wall and we lifted the clock into place. And just as the clock popped against the wall the “looser than we’d like” chips jumped from their homes and crashed onto the floor. DOH!
A simple fix with a hot glue gun and we had all those chips back in place and the clock back in its place of honor. Although that ‘C’ battery I had was dead. Even a broken clock is right twice a day, right?
July 7th
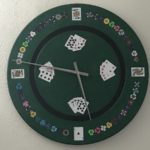
A fresh battery has us up and running. However the black clock hands make it hard to tell the time without a lot of light on the clock. We discussed red like the hearts and diamonds of the poker cards, or even yellow to make them pop.
We also talked about placing yellow chips every 5 minutes. So 5, 10, 20, 25… to make it easier to read. We’ll do that when we get a few more yellow chips.
July 8th
Sunday, a friend suggested silver for the clock hands. Another can of paint, a quick spray job, and even faster drying in the Texas sun proved it to be the perfect solution.
So, you might ask, are we done? Yes and no. The clock is up and running, but we are waiting on poker chips from Walt and another friend which will give us chips from over 25 places. And we’ll continue to remove doubles and replace with chips until we have 48 different dealers represented.